|
|
|
|
|
|
Not a member? Join Today to see why so many say they are Proud to be a Venturer!
|
|
| RSV Trunk Mod (More Rear Seat Room) |
|
Author: Gary Mace (Venturous) Views: 23944 Votes: 152 |
|
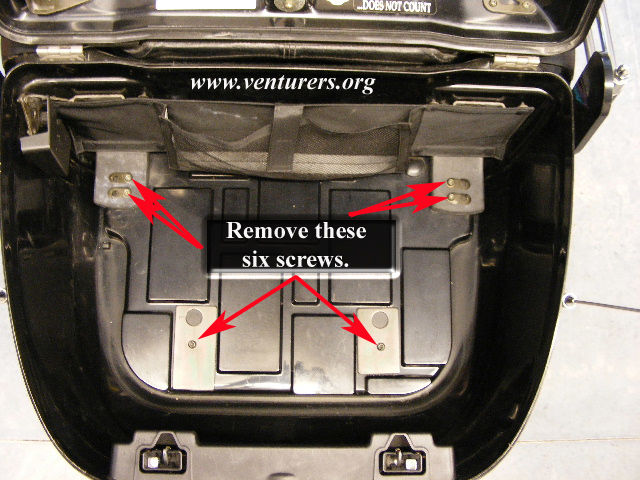
After owning my bike for 9 years and logging nearly 80k miles, I did not know until recently that our trunks were set-up to allow for an alternate mounting location that would give the passenger about an extra 1" of room away from the rider. This photo shows the 6 screws that need to be removed to separate the ABS trunk from the trunk frame. A 4mm hexx wrench is needed to remove these.
After removing the screws, carefully lift the back of the ABS trunk off of the frame. Be careful not to pull too hard. Don't not try to lift the trunk completely off the frame as there are cables attached for CB and radio. You could disconnect the cables to remove the trunk completely but there is no need for this project.
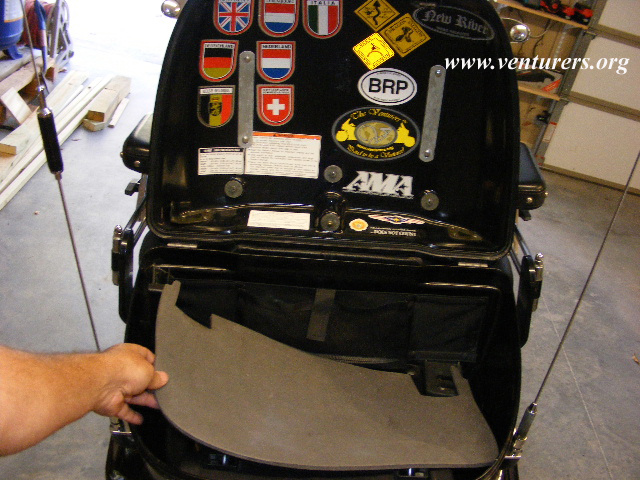
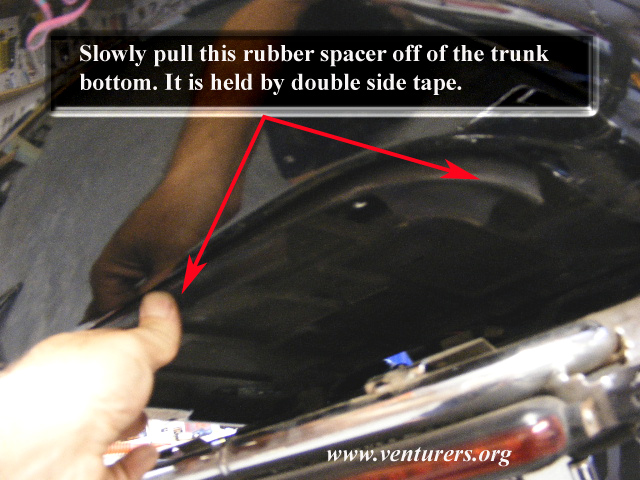
Most likely, a rubber spacer will be attached to the rear of the ABS trunk. Gently remove that from the trunk. It is held by double sided tape. After removing, lay the rubber spacer over the chrome frame as shown below. Also, while working under here, it would be a great time to clean and polish those areas which are normally out of sight and out of mind.
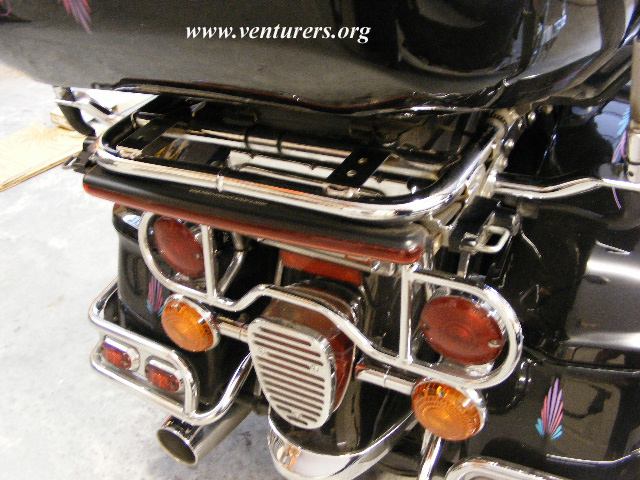
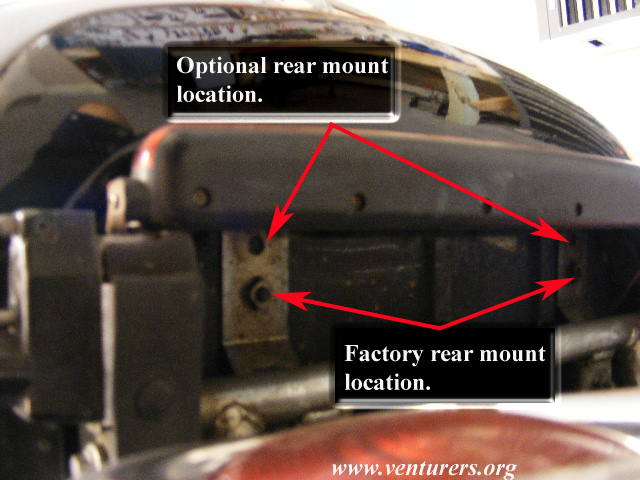
As you look at the chrome trunk frame, you will see three holes at the front mounts, and two on the rear. See photos. To move the trunk back about 1" and increase passenger room, simply move the trunk back to the alternate mounting holes.
Now you will notice on the factory mounting location, nuts are welded to the frame. To use the alternate mounting location, you will need to add your own nut. Tighten the 6 screws to 58 in-lbs NOTE: Inspect the trunk mount frame for possible broken mounting tabs and the trunk ABS body for possible cracks. Some have been reported with this condition. If you have a 1999 or 2000 model Venture see the article on the trunk mount update TSB that was issued by Yamaha. It should also be mentioned that Yamaha states that the front mounting position will provide the best support for the trunk assembly.
Last update: 11:56 AM Sunday, May 5, 2013 |
| All material on webpages under the domain venturers.org, is the property of The Venturers, Inc. These materials are protected by copyright and other intellectual property laws. You may not reproduce or retransmit the materials, in whole or in part, in any manner, without the prior written consent of The Venturers, Inc. The free information contained herein is offered in the spirit of helping others and any action or advice taken from these pages is the sole responsibility of the receiver. |