|
After all the posts about the windshield bracket plastic tabs that break,I made my own modification that works just fine.
It took about six tries to get the bends just right,and the holes in the proper position.
There is no way of getting in there to measure,so I used trial and error.
When I finally got a bracket that worked I used the measurements from the finished bracket and made two. They fit fine.
If you follow the measurements you should have no problem.
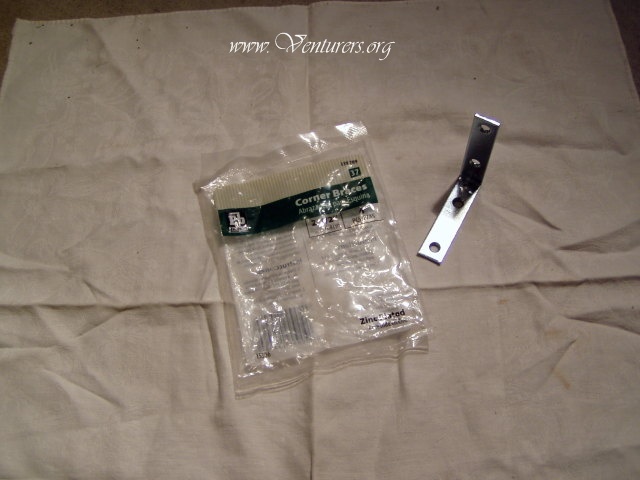
Parts needed:
2- 5mm X 16mm long bolts
2- #10 flat washer
2- 2 1/2 inch L bracket
I found all the parts at Home Depot
Remove the faring and shield
Remove the two center bolts on the bracket
Be careful removing the bracket center C clip.
Wiggle it left & right, Not front to back.

I used a 2 1/2 inch L bracket
Drill the outside L bracket holes to 3/8
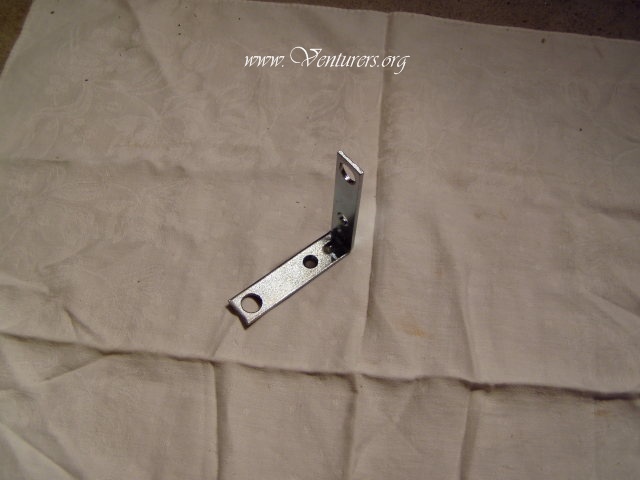
Cut off the L,so you have 2 pieces
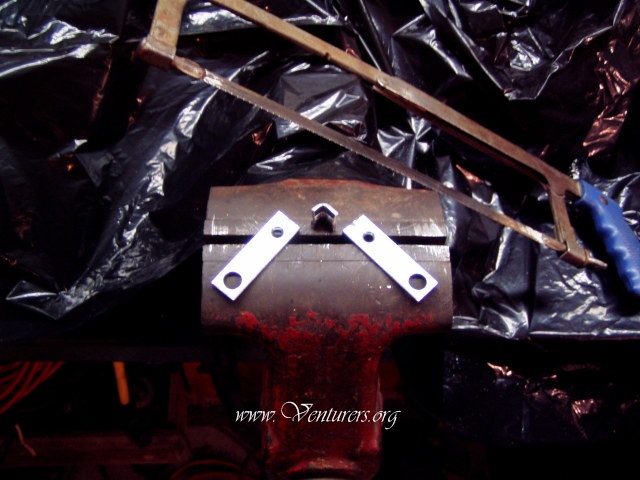
Put the 3/8 hole side 3/4 inch in a vice.
your making a 45 degree bend at 3/4 inch
Flip it around and bend it 3/8 from your last bend.
In other words, hang it out from the vice 3/8 from your first bend.
(Measure from the outside of the bend)
Make tight bends
Go beyond 45 degrees then bend it back.
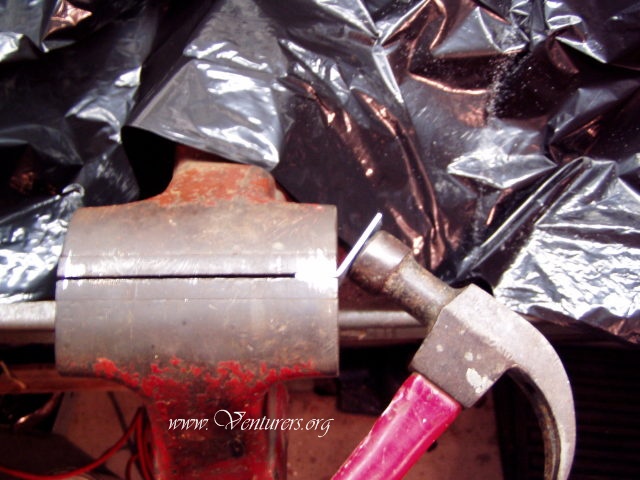
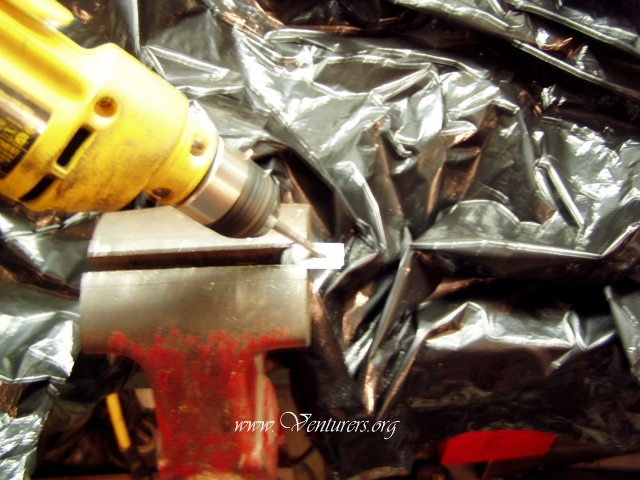
With a 1/4 inch drill make the other hole oblong.
Try to get a hole 1/2 long X 1/4 high.
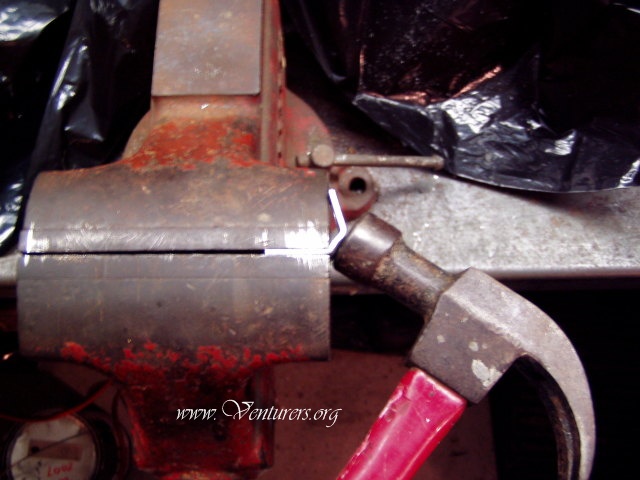
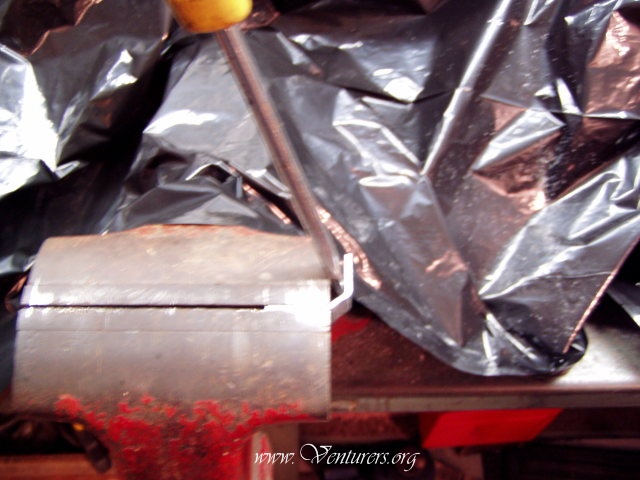
1/2 inch back from your last bend make a diagonal cut
You will cut through the oblong hole,making a slot
Cut the other one the opposite way.
This cut fits around the speaker housing.
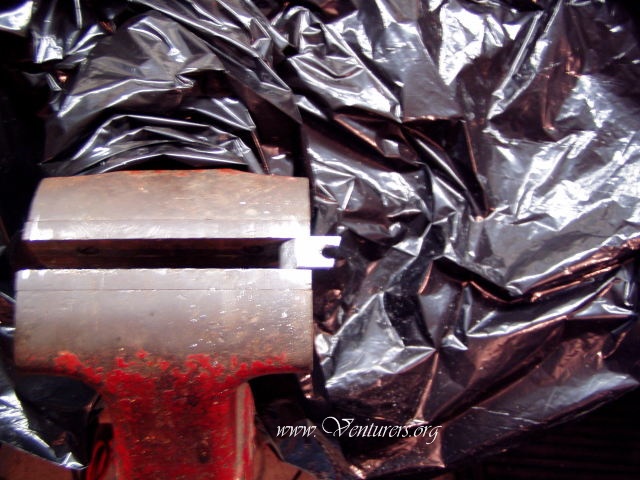
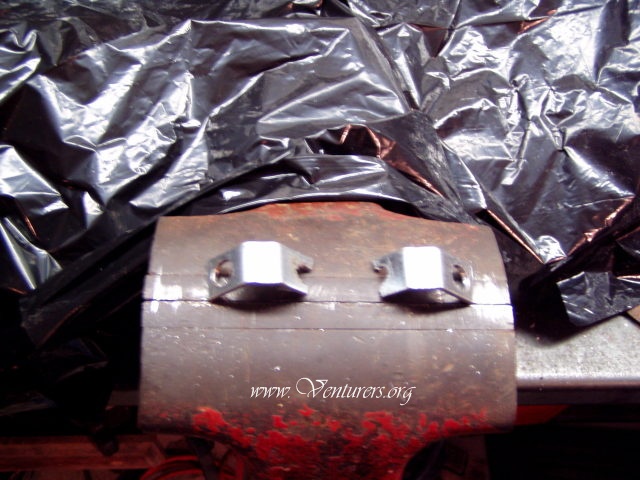
This is what both will look like.
If the plastic C clips are not broken off the back side of the dash,
they will have to be removed.
Remove them from the rubber nut/washer if they are on it.
Keep the rubber nut/washer in place.
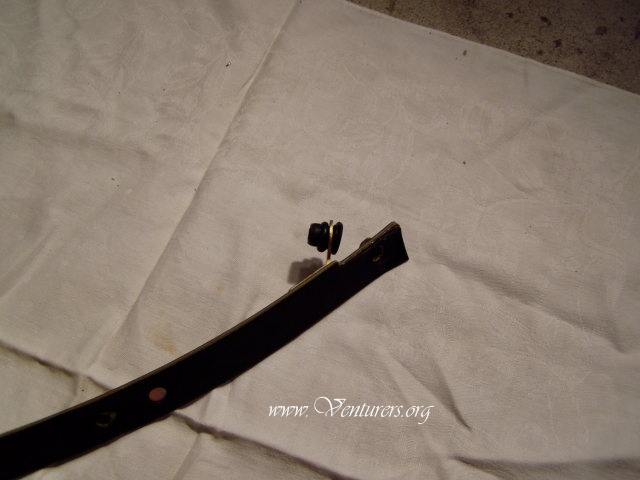
With the new bolt and flat washer,bolt on the bracket.
The 3/8 bracket hole fits over the rubber nut/washer
Snug it down, once in place you can't get to it.
The rubber will allow it to move a little if needed.
The old bolt is not long enough to get a nut and washer on it.

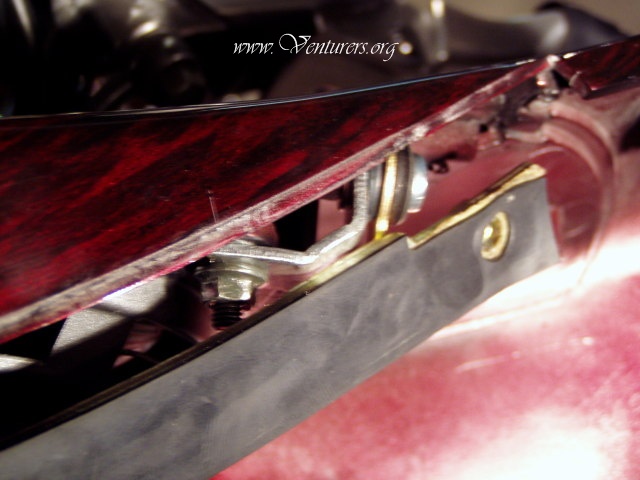
Remove the top outside speaker bolts.
Put the bracket in place.
Careful with the plastic center C rubber mount.
You got to wiggle it in place.
I broke mine off trying to get it in place
Tighten up the speaker bolts and your done.
Now it's good and tight.
Last update: 01:24 AM Saturday, May 2, 2009
|
